“Slack” is the instant messaging tool we use here at LMC. It’s on our laptops and our cell phones. More efficient and more collaborative than email, Slack is our communication hub for sharing information, files, and (occasionally) funny memes. It’s a very useful tool, even if you only know the basics. But to really be productive, you should dive into the advanced features.
Fortunately for us, our Digital Communications Coordinator, Amanda, is always finding new ways for us to be more productive. Lately she’s been providing us with her “Tip of the Day,” which most recently included managing Slack workspaces.
At LMC we use three workspaces: one internal for just LMC staff and two additional workspaces which we share with our clients. Daily, we bounce back and forth between the workspaces, and it can be easy to post something in the wrong place. To circumvent this problem, Slack allows you to change the colors of each workspace. There are predetermined themes you can choose from or, using hexadecimal numbers, you can create a custom theme that is on-brand with your company. For example, LMC’s colors are purple and green. One of our clients color scheme is blue, teal and orange. By changing the theme, it’s easy to know at a glance which workspace you are in, thus preventing accidentally posting internal messages in your client’s workspace. Because, frankly, your client doesn’t need to know that your out of coffee creamer in the break room.
Step 1: On your desktop app, click on the dropdown arrow in the upper left corner next to the workspace name
Step 2: Click “Preferences”
Step 3: Click “Themes” on left side bar
Step 4: Scroll until you see the “Sidebar Theme” section
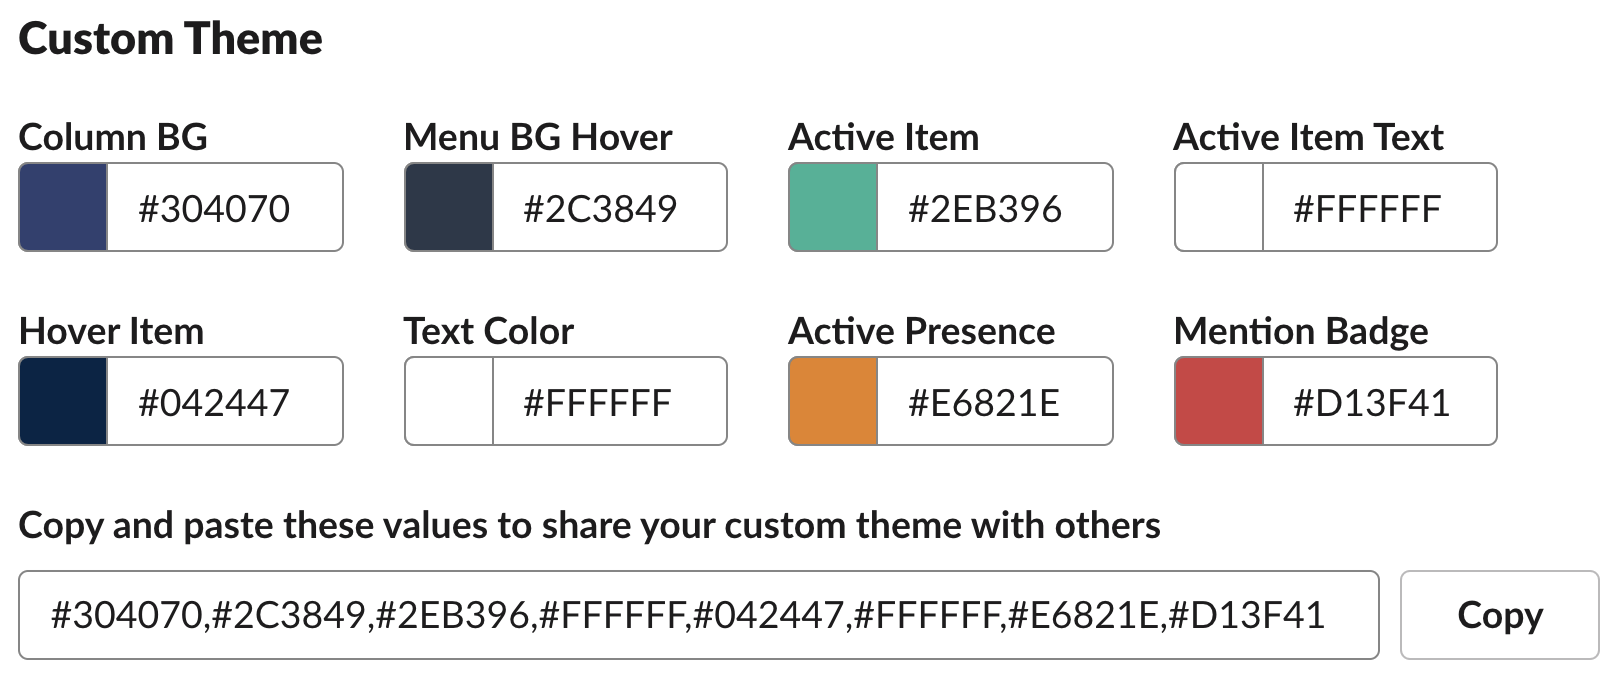
Step 5: To create a custom theme, keep scrolling until you see the “Custom Theme” section. Select your colors.
BONUS TIP: When you create a custom theme, copy the code & paste it into a slack channel. Your coworkers will then have access to the same theme.